
Process
How a project works
From concept and design through installation, every project runs through four steps, and you see the plan, the timeline and the estimate before anything is built.
The four steps
From first call to installation
-
Step 1: Consultation
We review your ideas, your space and your style.
Your part
- Call, text or send the project planner with a few lines about what you want.
- Share photos of the space, rough measurements and anything you’ve saved for inspiration.
- Tell us how you use the room: what needs to fit, who uses it and what bothers you about it now.
Our part
- Review your ideas, your space and your style with you.
- Guide you through the possibilities if you’re not sure yet what you want.
- Talk through the wood, finish and construction that suit the room.
-
Step 2: Plan and estimate
You get a detailed plan, a timeline and an estimate.
Your part
- Read through the plan and ask for any changes.
- Settle the wood, the finish and the hardware.
- Give the go-ahead when the plan is right for you.
Our part
- Put together a detailed plan for your project.
- Give you a timeline and an estimate, so you know exactly what to expect.
- Answer questions before anything is built, while changes are still easy.
-
Step 3: Build
We build your project to the plan you approved.
Your part
- Nothing is needed from you while the work is in the shop.
- If something changes at home, like an appliance or a paint color, say so early.
Our part
- Build your project to the plan you approved.
- Use locally sourced hardwood and hand-selected finishes.
- On cabinetry: robust ¾-inch pre-finished plywood boxes and solid hardwood under all paint-grade finishes.
-
Step 4: Installation
We install the finished work.
Your part
- Clear the room, and the path from the door to it.
- Tell us about anything in the room that changed since the plan.
Our part
- Install the finished work in your home.
- Fit it to your walls and floors, then adjust the doors and drawers.
- Go over the finished work with you.
Before the consultation
What to have ready
None of this has to be perfect. It gives the first conversation something real to work from.
- Photos of the space A few wide shots from the doorway and the corners, plus close-ups of outlets, vents, windows and anything built in.
- Rough measurements Wall lengths, ceiling height and where the windows and doors sit. The sketch shows what to measure.
- Inspiration Screenshots, magazine pages or a piece you saw somewhere. Photos of what you don’t like help too.
- How you use the room Who uses it, what has to be stored or seated, and what frustrates you about it now.
- Wood and finish leanings Painted or stained, light or dark. The wood guide can help you decide.
- Timing A date you’re working toward, like a move-in or a holiday, if there is one.
- A budget range A range you’re comfortable with, or “not sure yet.” It helps us suggest the right wood and construction.
- Drawings, if there are any Building or remodeling? We work from your designer’s or architect’s drawings, or alongside your builder.
- Wall length, corner to corner
- Ceiling height
- Corner to the window or door
- Window or door width
- Floor to the window sill
- Where outlets, switches, vents and pipes are
The project planner takes up to 5 photos along with your measurements and notes, so everything arrives together.
Open the project plannerThe build
What happens in the shop
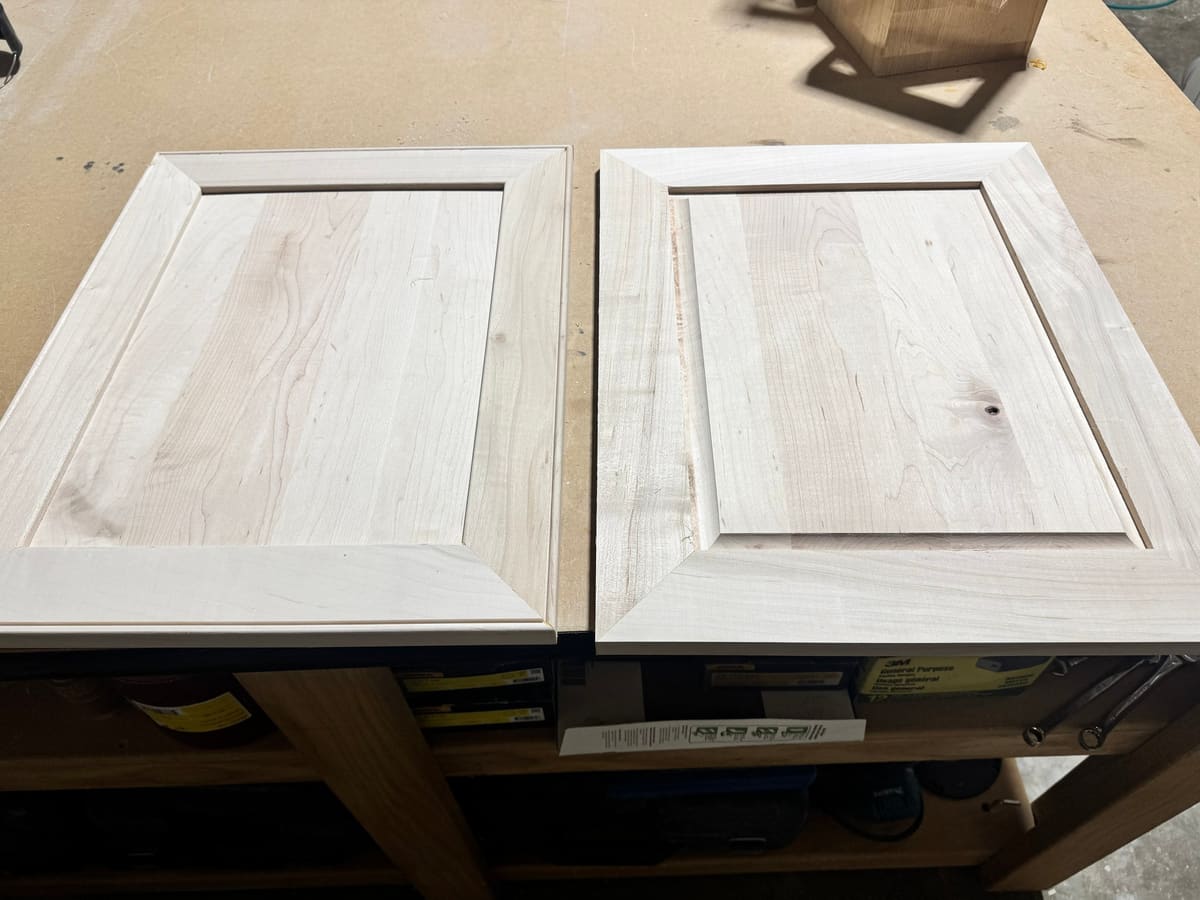
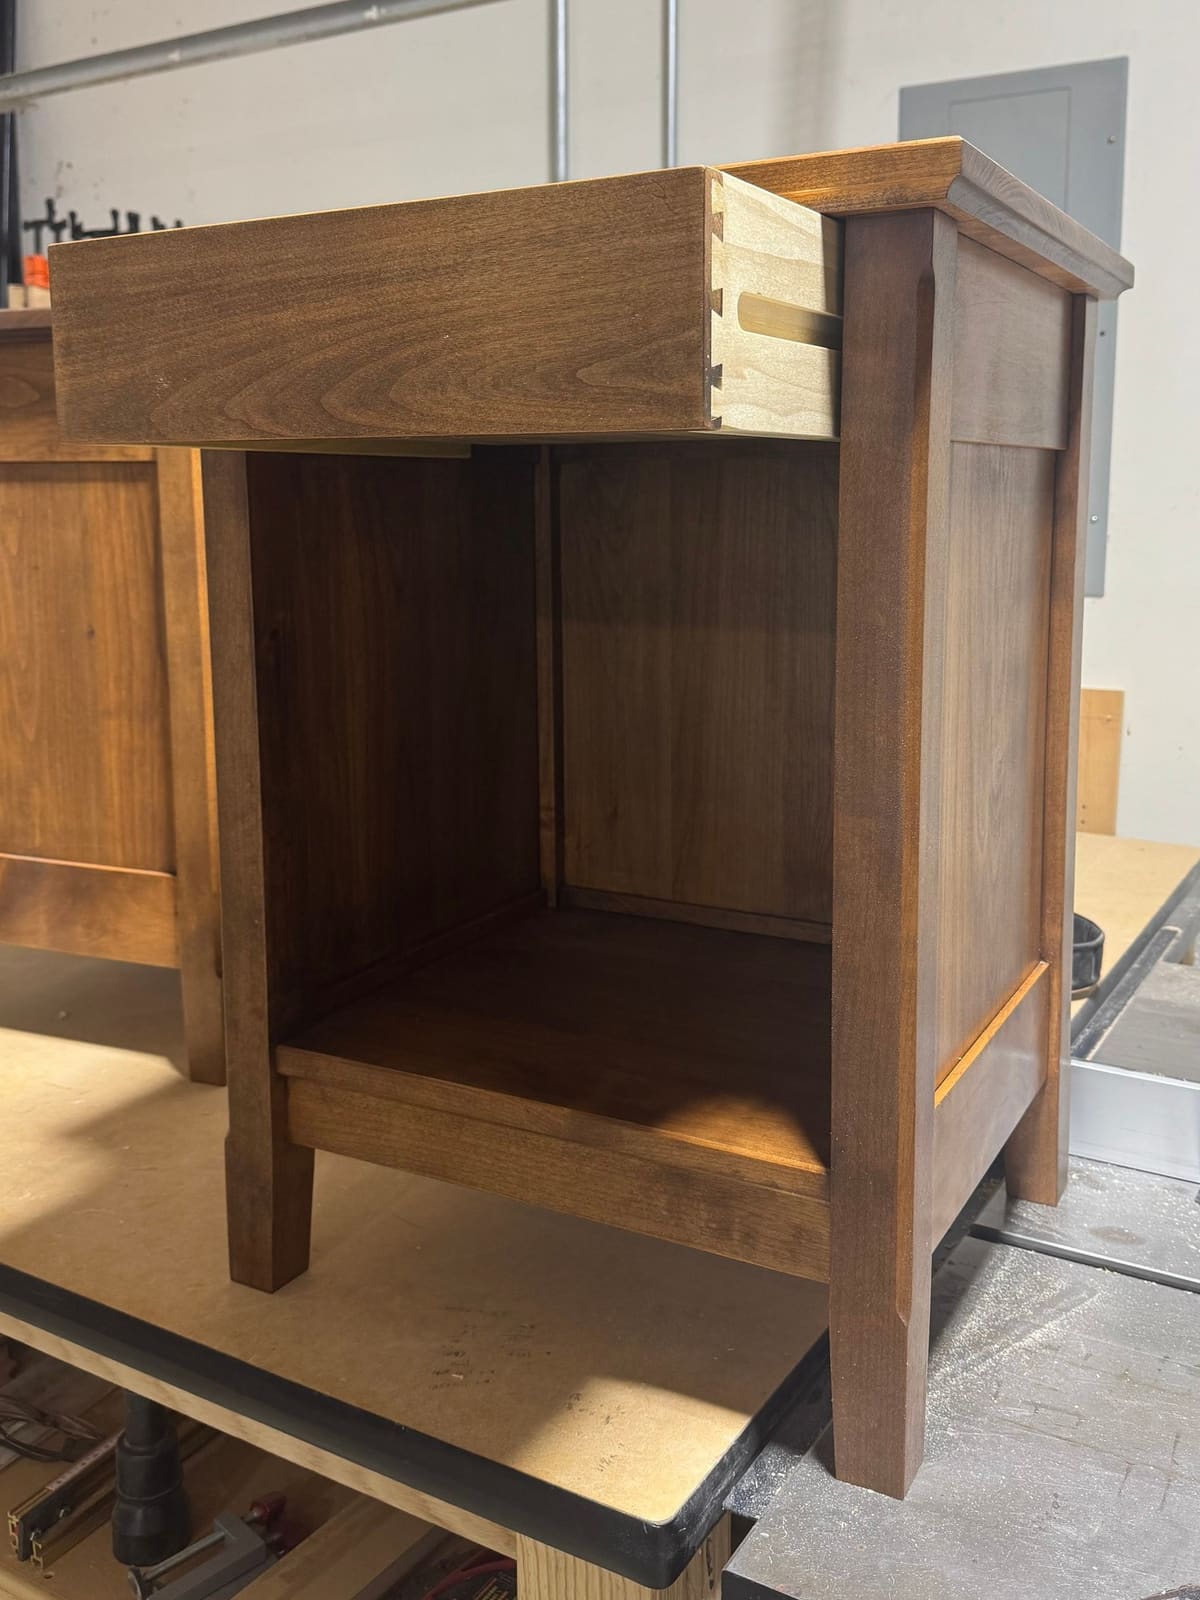
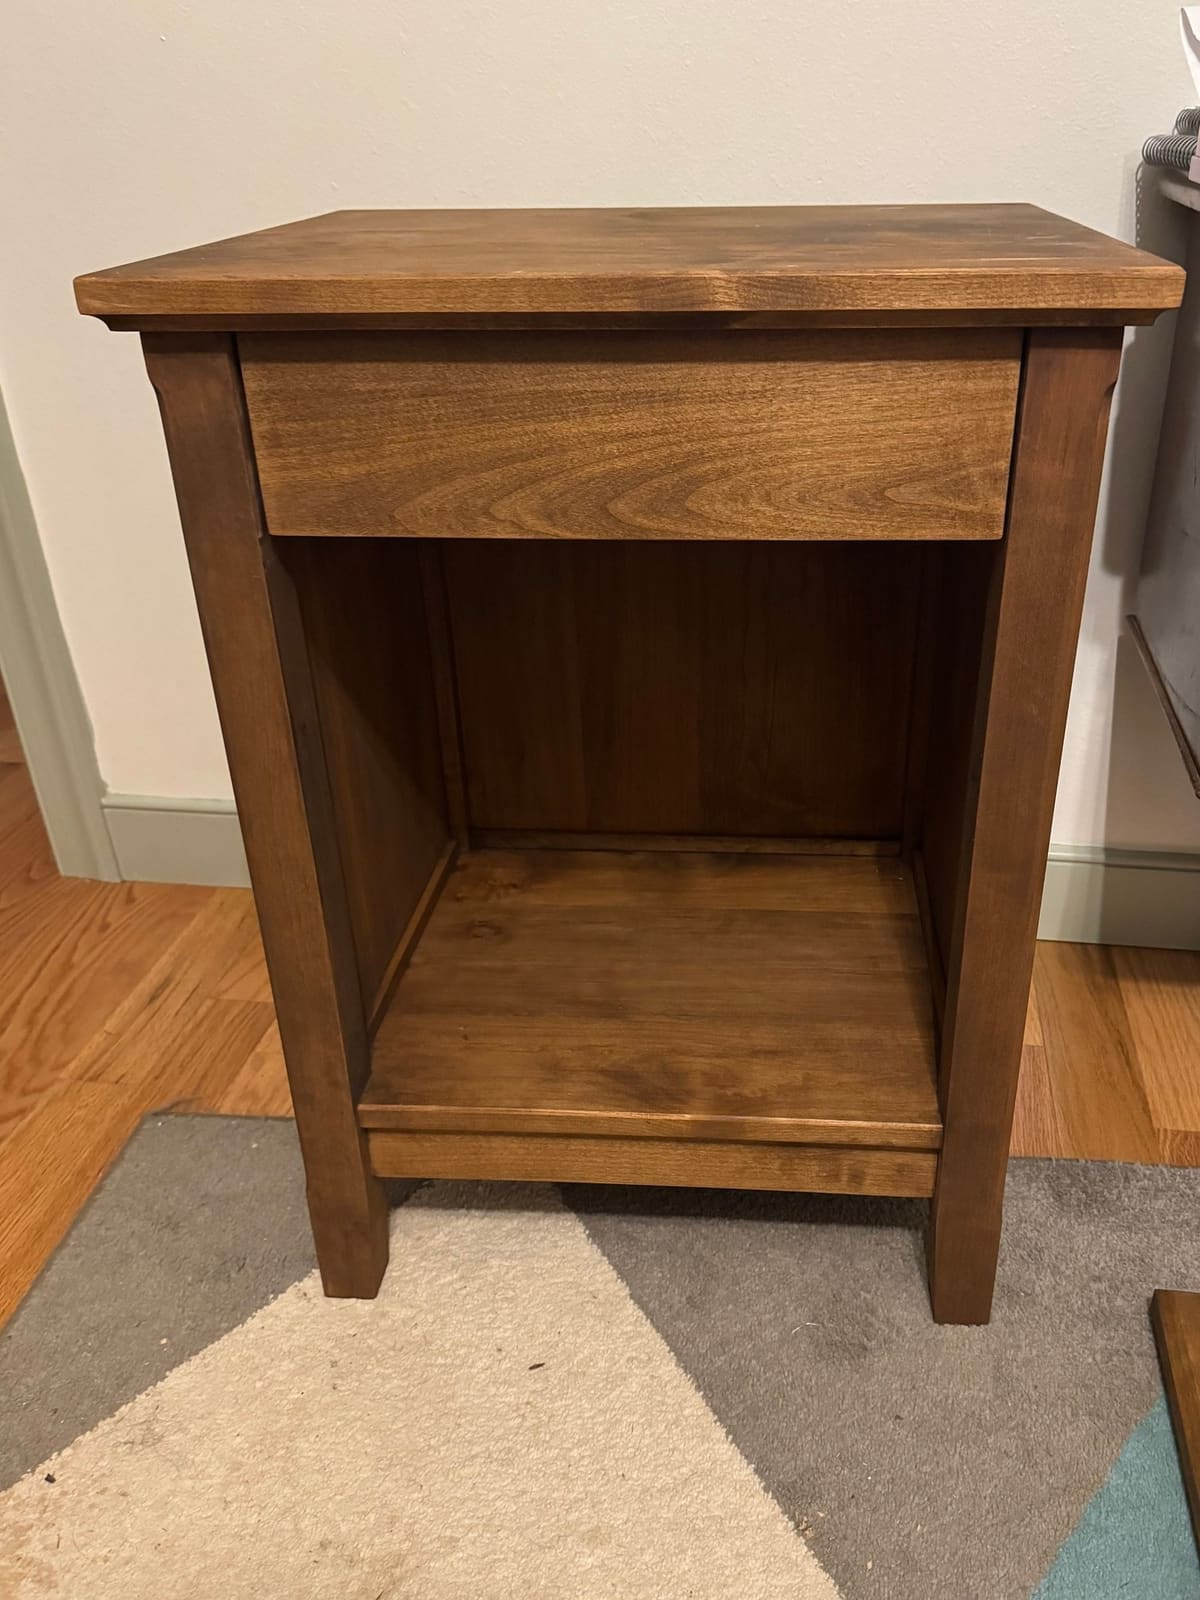
Your project is built to the plan you approved, with the construction Cambium lists as standard.
- pre-finished plywood cabinet boxes
- ¾-inch
- heavy-duty panels in doors and drawer boxes
- ½-inch
- Solid hardwood under all paint-grade finishes.
- Premium soft-close hardware on cabinetry.
- Solid hardwood construction from doors to drawer boxes.
- Locally sourced hardwood, with hand-selected finishes that bring out the natural character in every board.
Installation
What installation day looks like
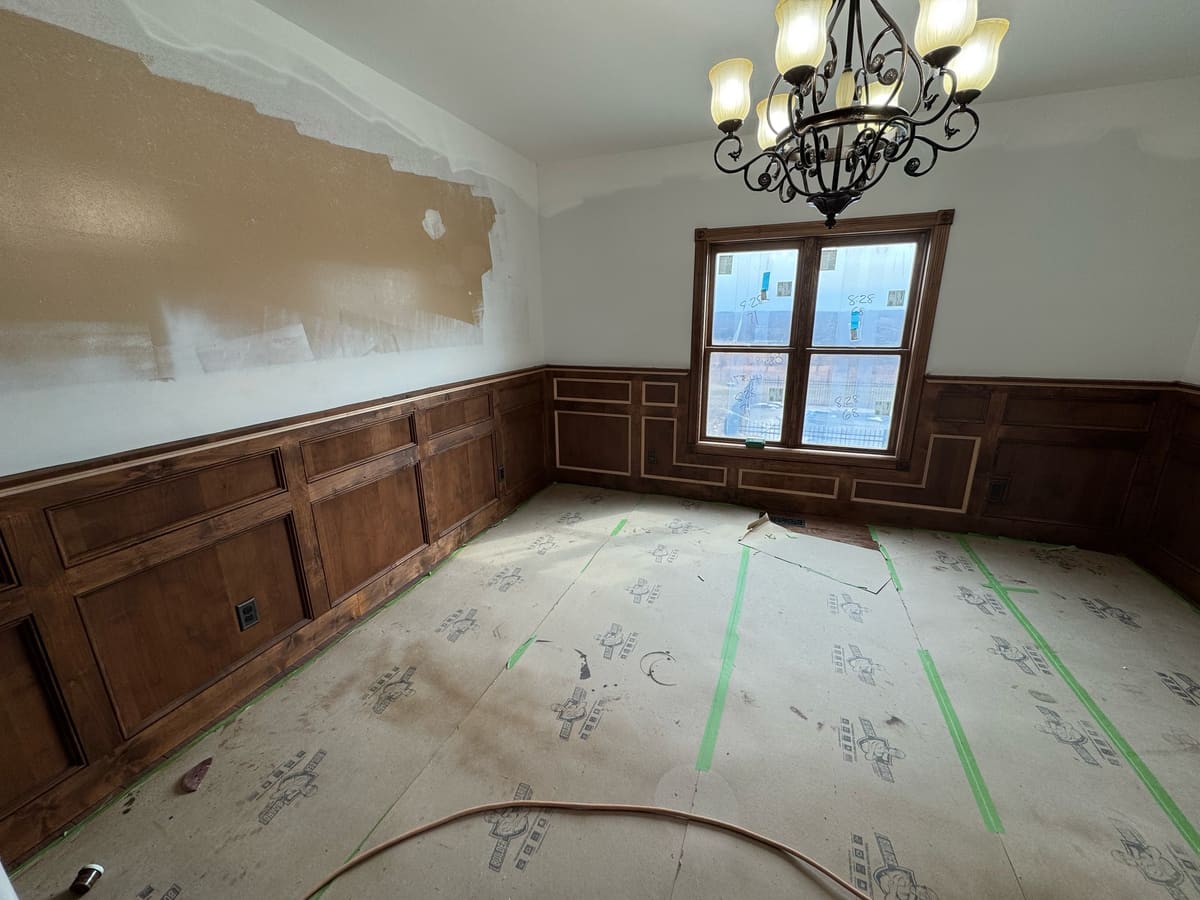
Cabinetry, built-ins and millwork are installed in your home. The details depend on the room and the work.
What installation involves
- Setting each piece level and plumb, even where the floor and walls aren’t.
- Scribing and trimming so the work sits tight to walls that aren’t perfectly straight.
- Fastening cabinets and built-ins securely to the structure behind the wall.
- Adjusting doors, drawers and hinges so the gaps line up and everything closes cleanly.
How you can help
- Clear the room, and the path from the door to it.
- Take down anything hanging on the walls where the work goes.
- Keep pets and kids clear of the work area.
- Say so if anything in the room changed since the plan.
Questions
Questions about the process
Anything else, call or text.
How long does a custom project take?
It depends on the size of the project and what’s already on the schedule, so we don’t publish a standard lead time. Your timeline comes with the detailed plan, after the consultation.
Do you install what you build?
Yes. The work runs from concept and design through installation, and installation is the last of the four steps on this page.
Can you work from a photo, a sketch or something I saw online?
Yes. Send it with the project planner or bring it to the consultation. We work from concept sketches to the final finish, and if you’re not sure what you want, we’ll guide you through the possibilities.
Can you handle a whole kitchen or several rooms at once?
Yes. We design, build and install cabinetry, built-ins and millwork from concept and design through installation, so one shop can carry the kitchen, the mudroom, the built-ins and the trim as one project, with the wood and finishes matched room to room.
What should I have ready before the consultation?
Photos of the space, rough measurements, anything you’ve saved for inspiration and a sense of how you use the room. The checklist on this page covers it, and none of it has to be perfect.
Start a project
Start with step one.
Send a few lines about your project and the best way to reach you. We’ll get back to you to set up the consultation.
- Call or text(417) 496-4949
- HoursMonday to Friday, 8 AM to 5 PM
- Project plannerPlan it step by step, with photos